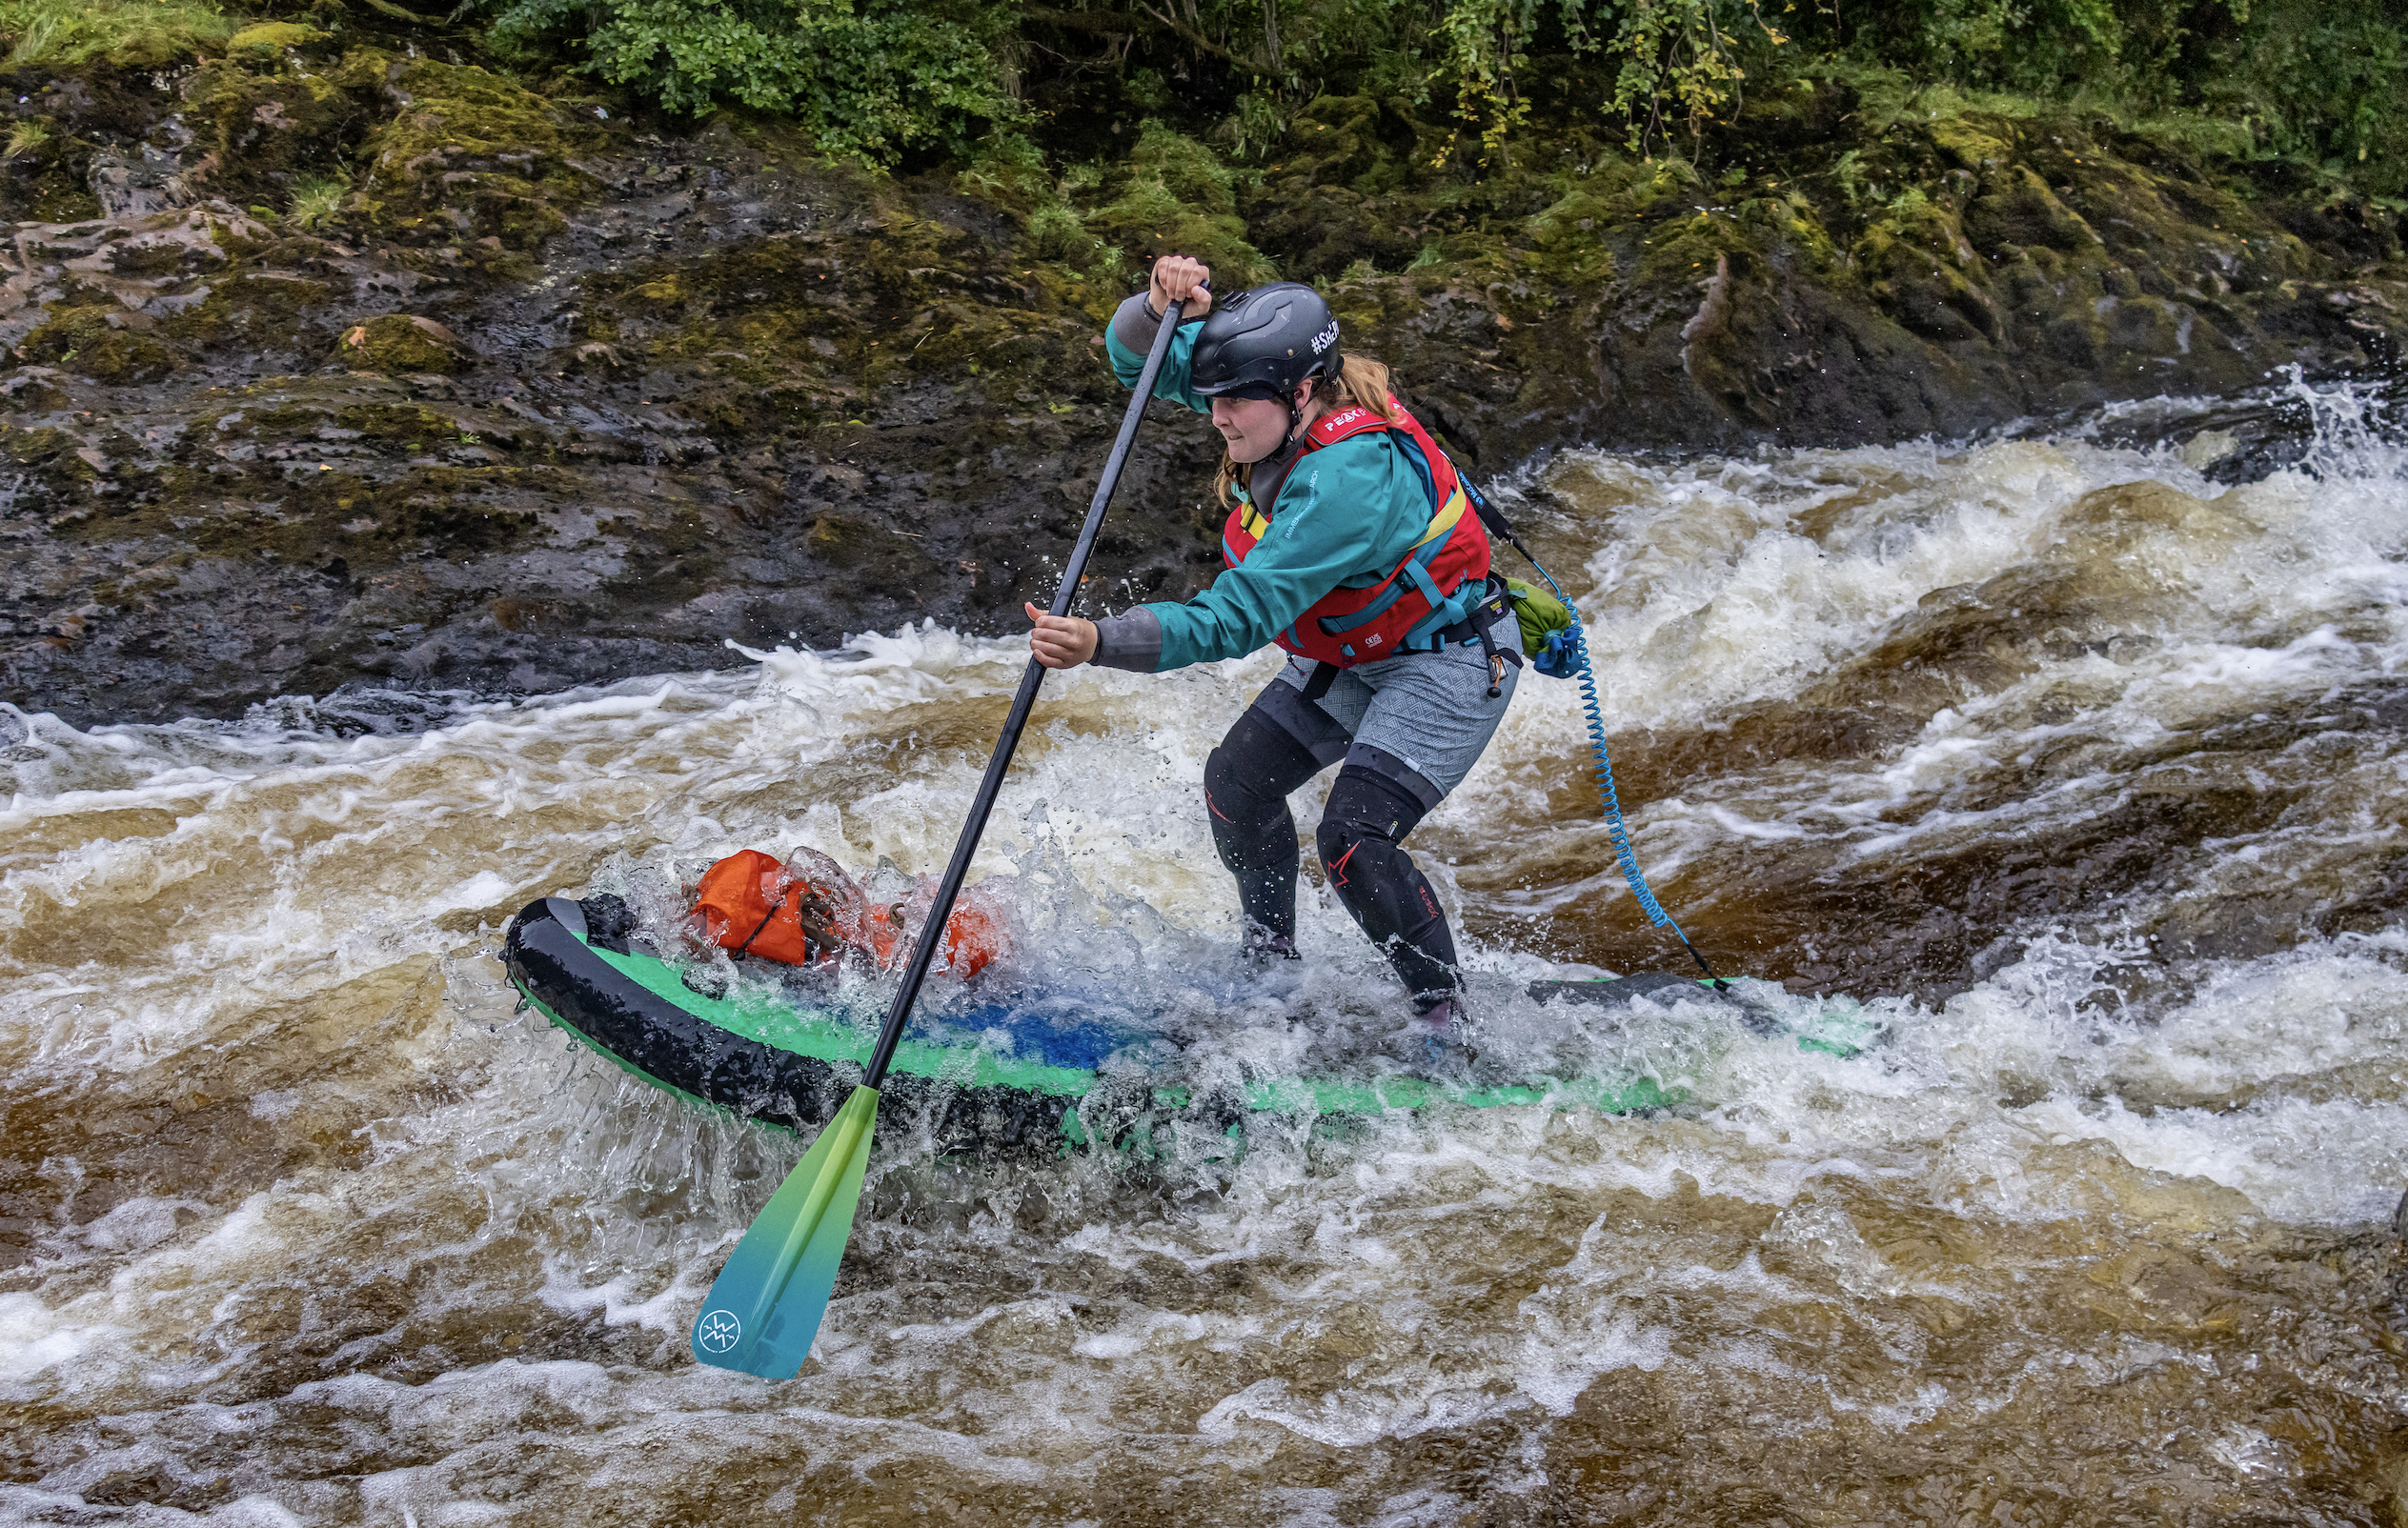
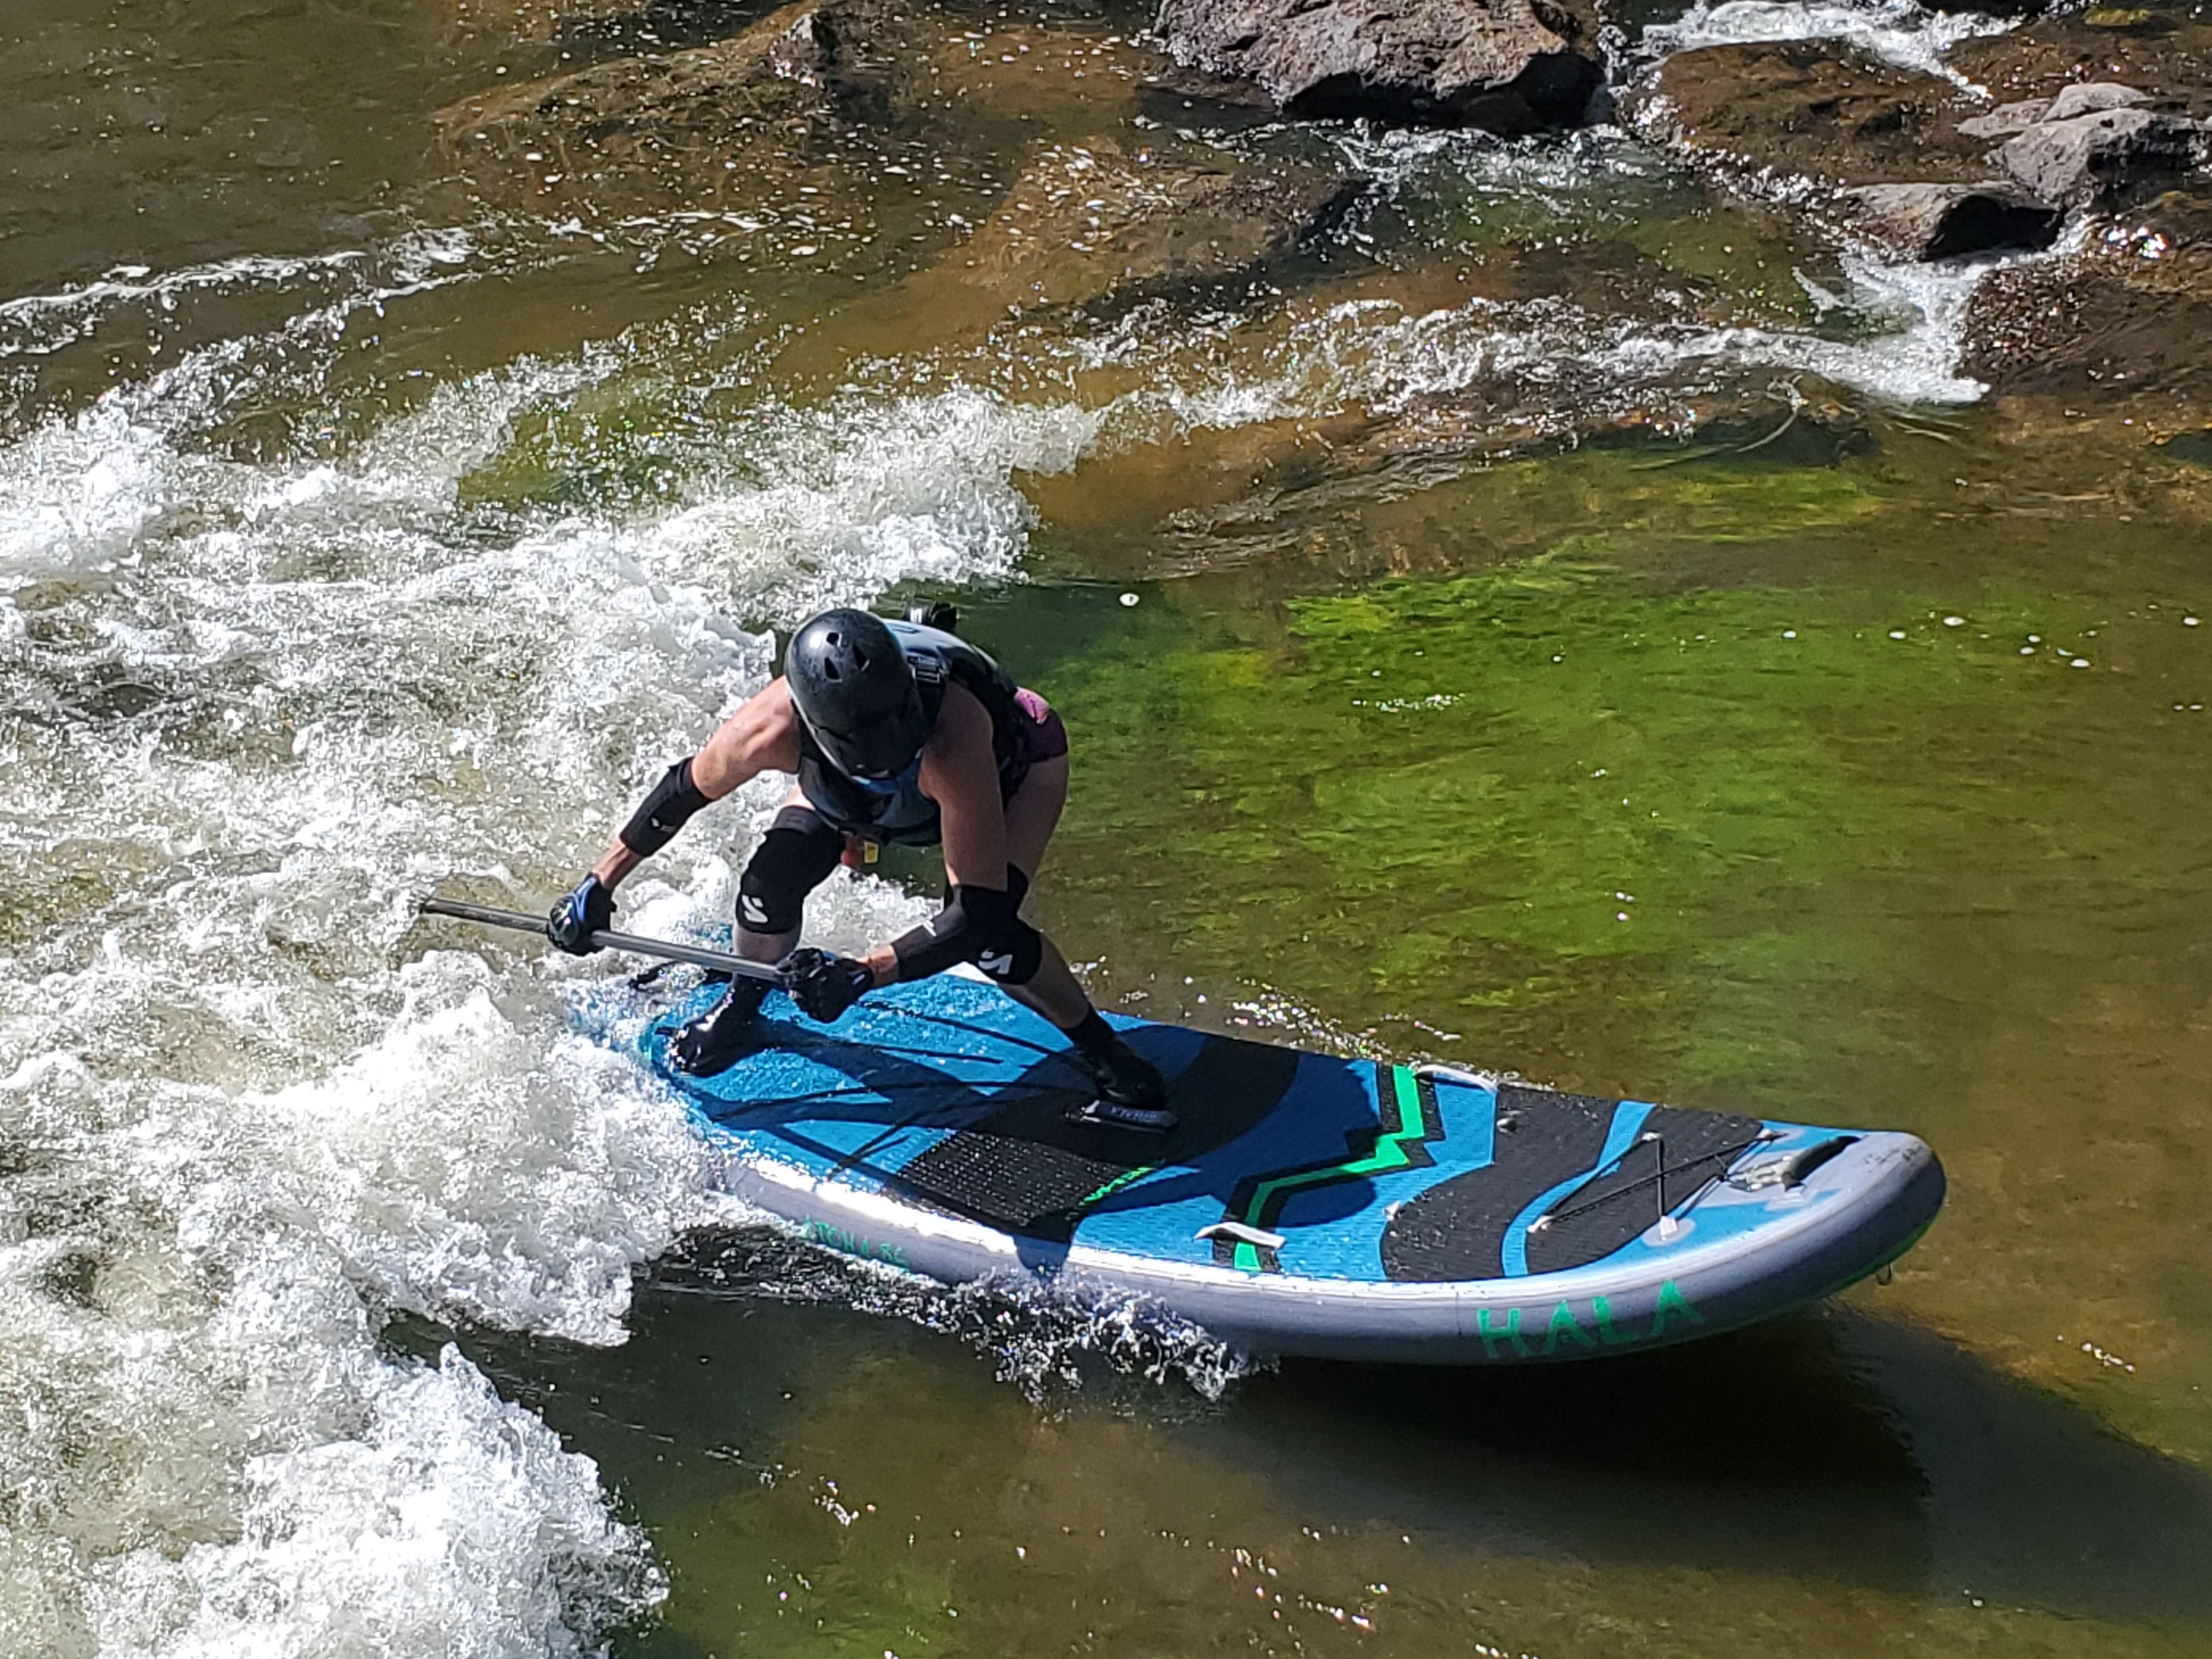
River SUP Safety


Only Quick-Release Leashes Are Safe To Use On Rivers.
- You must inspect your release mechanism and practice with it and test it to ensure it is continuing to function as inspected. Worn out shackles should be replaced - please see below!
A leash can keep you safer on the river IF YOU USE IT PROPERLY
• NEVER use an ankle leash on moving water
• KNOW where your leash and shackle are at all times
• SOME PFDs may not have a safe place to attach your leash - then DON'T USE a leash
• PULL EARLY if you see you could get ensnared
• PULL DIRECTION is crucial for release
 |
 |
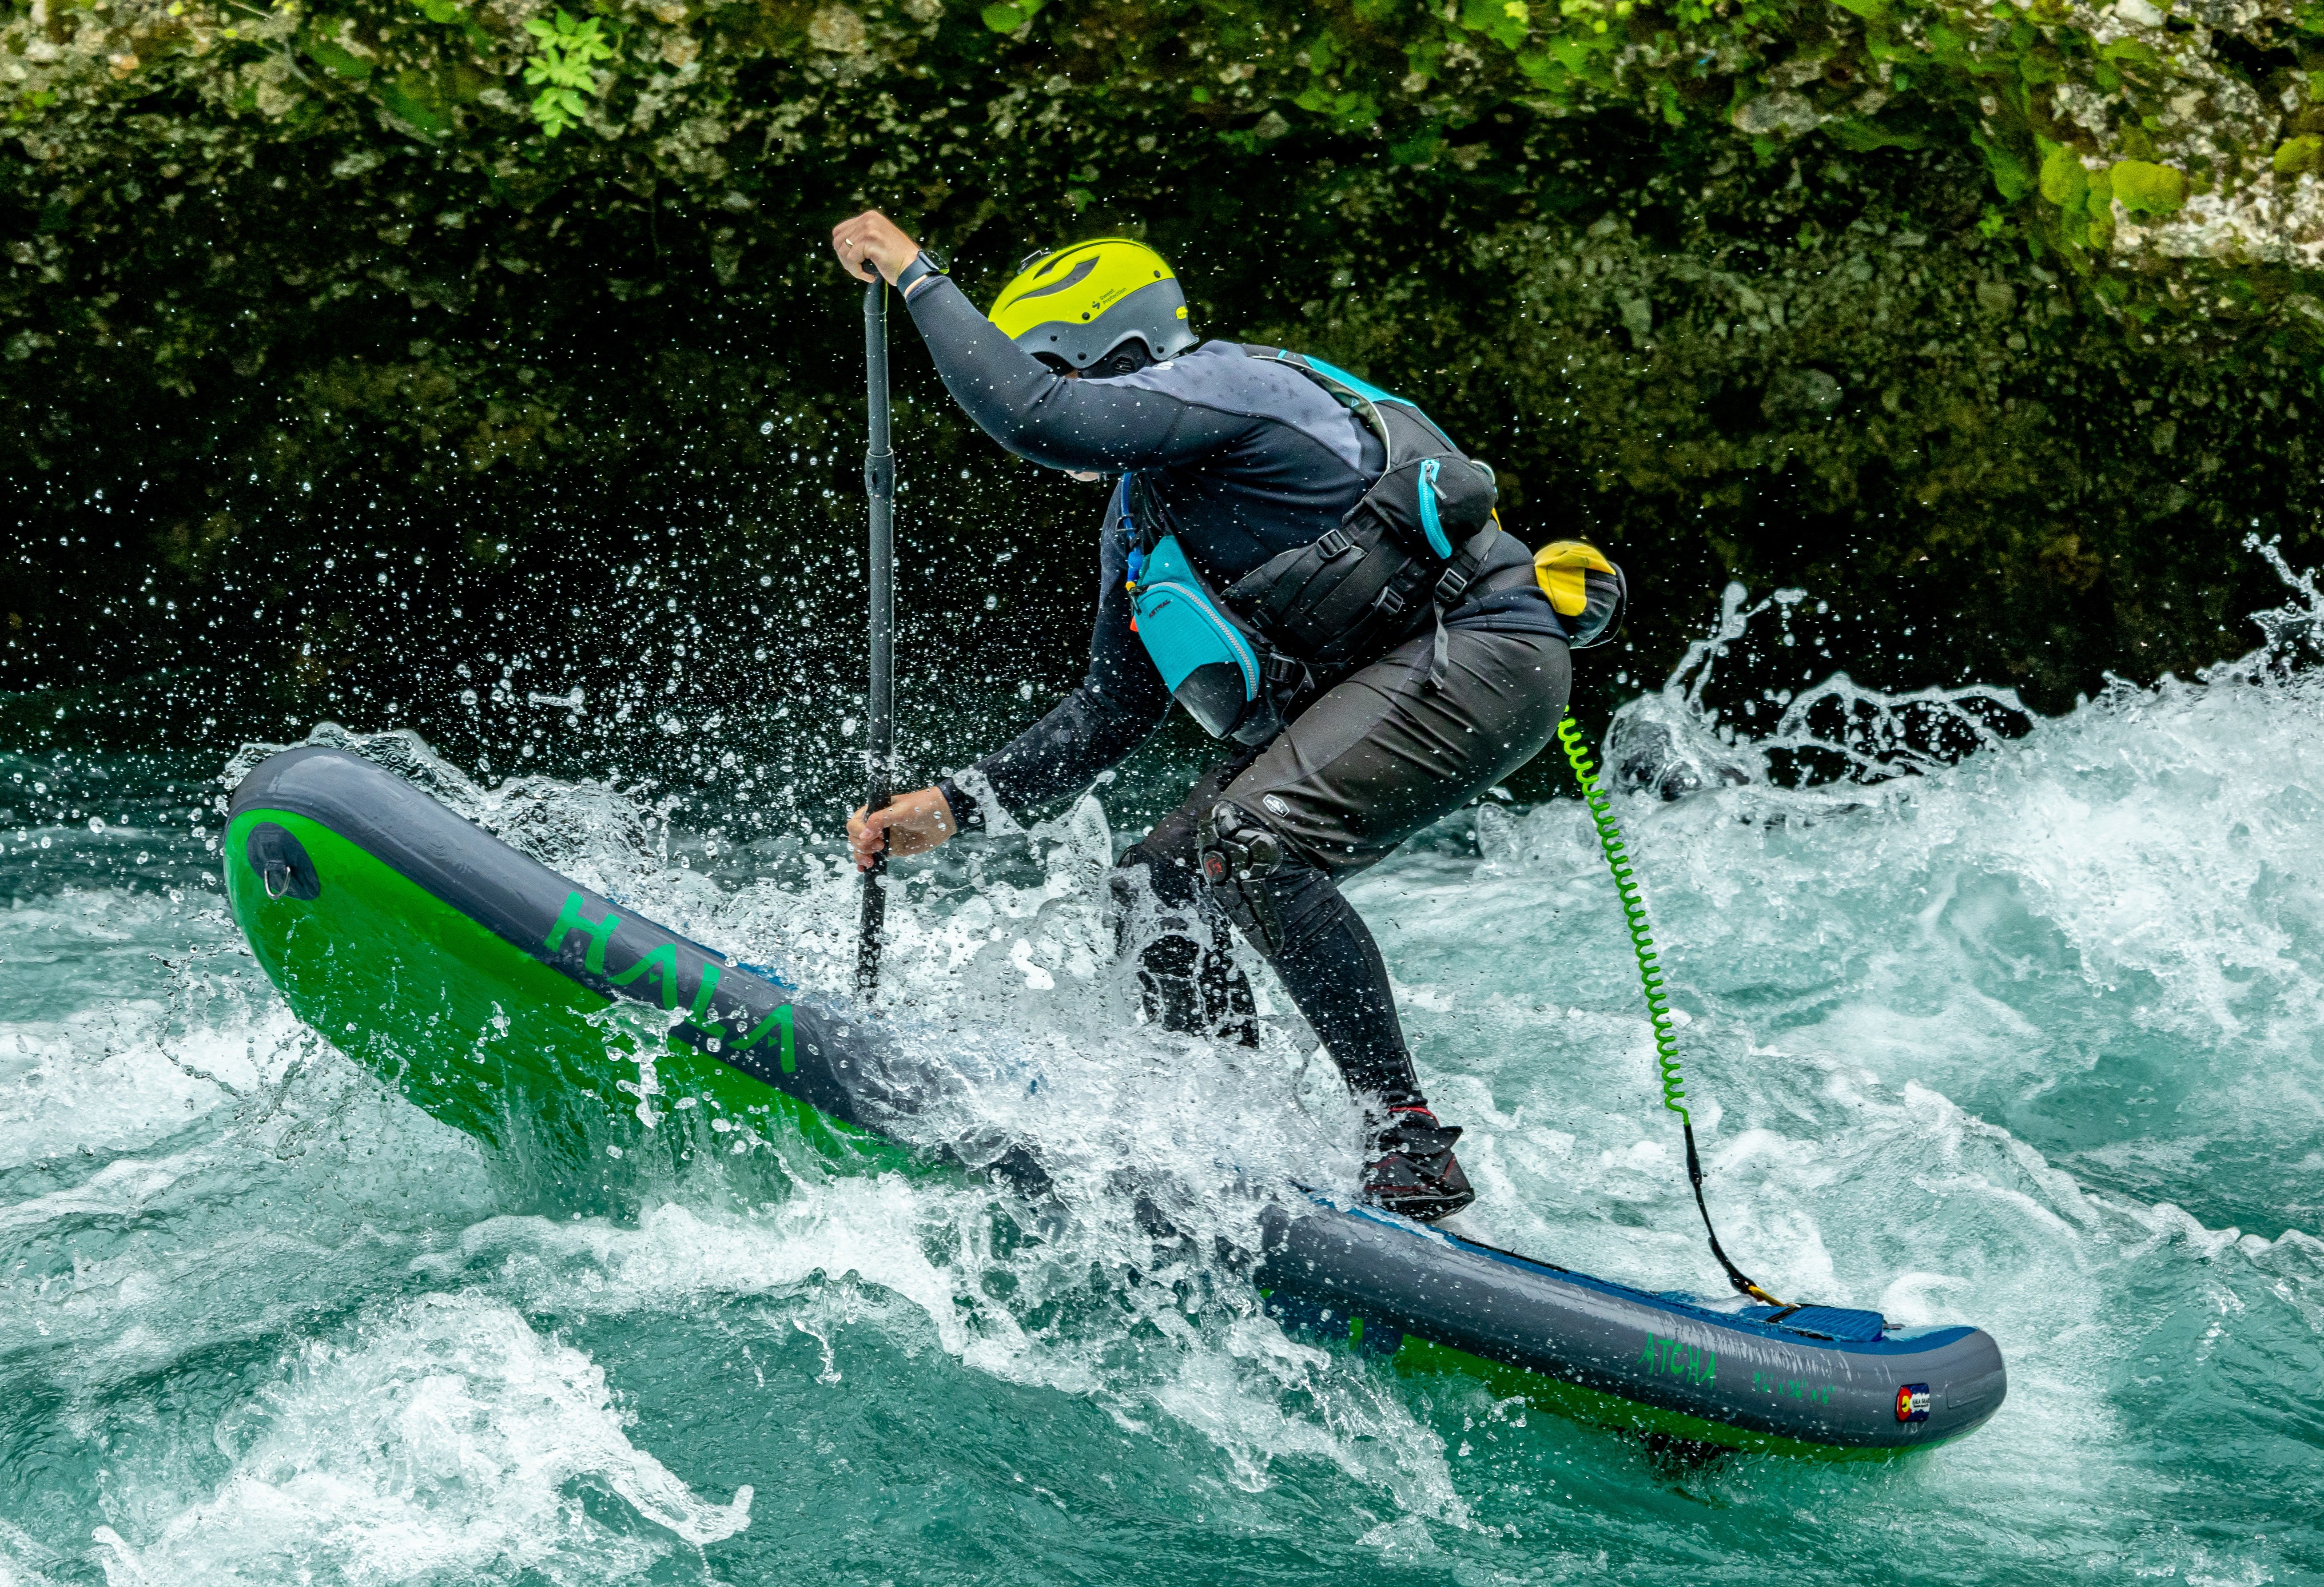
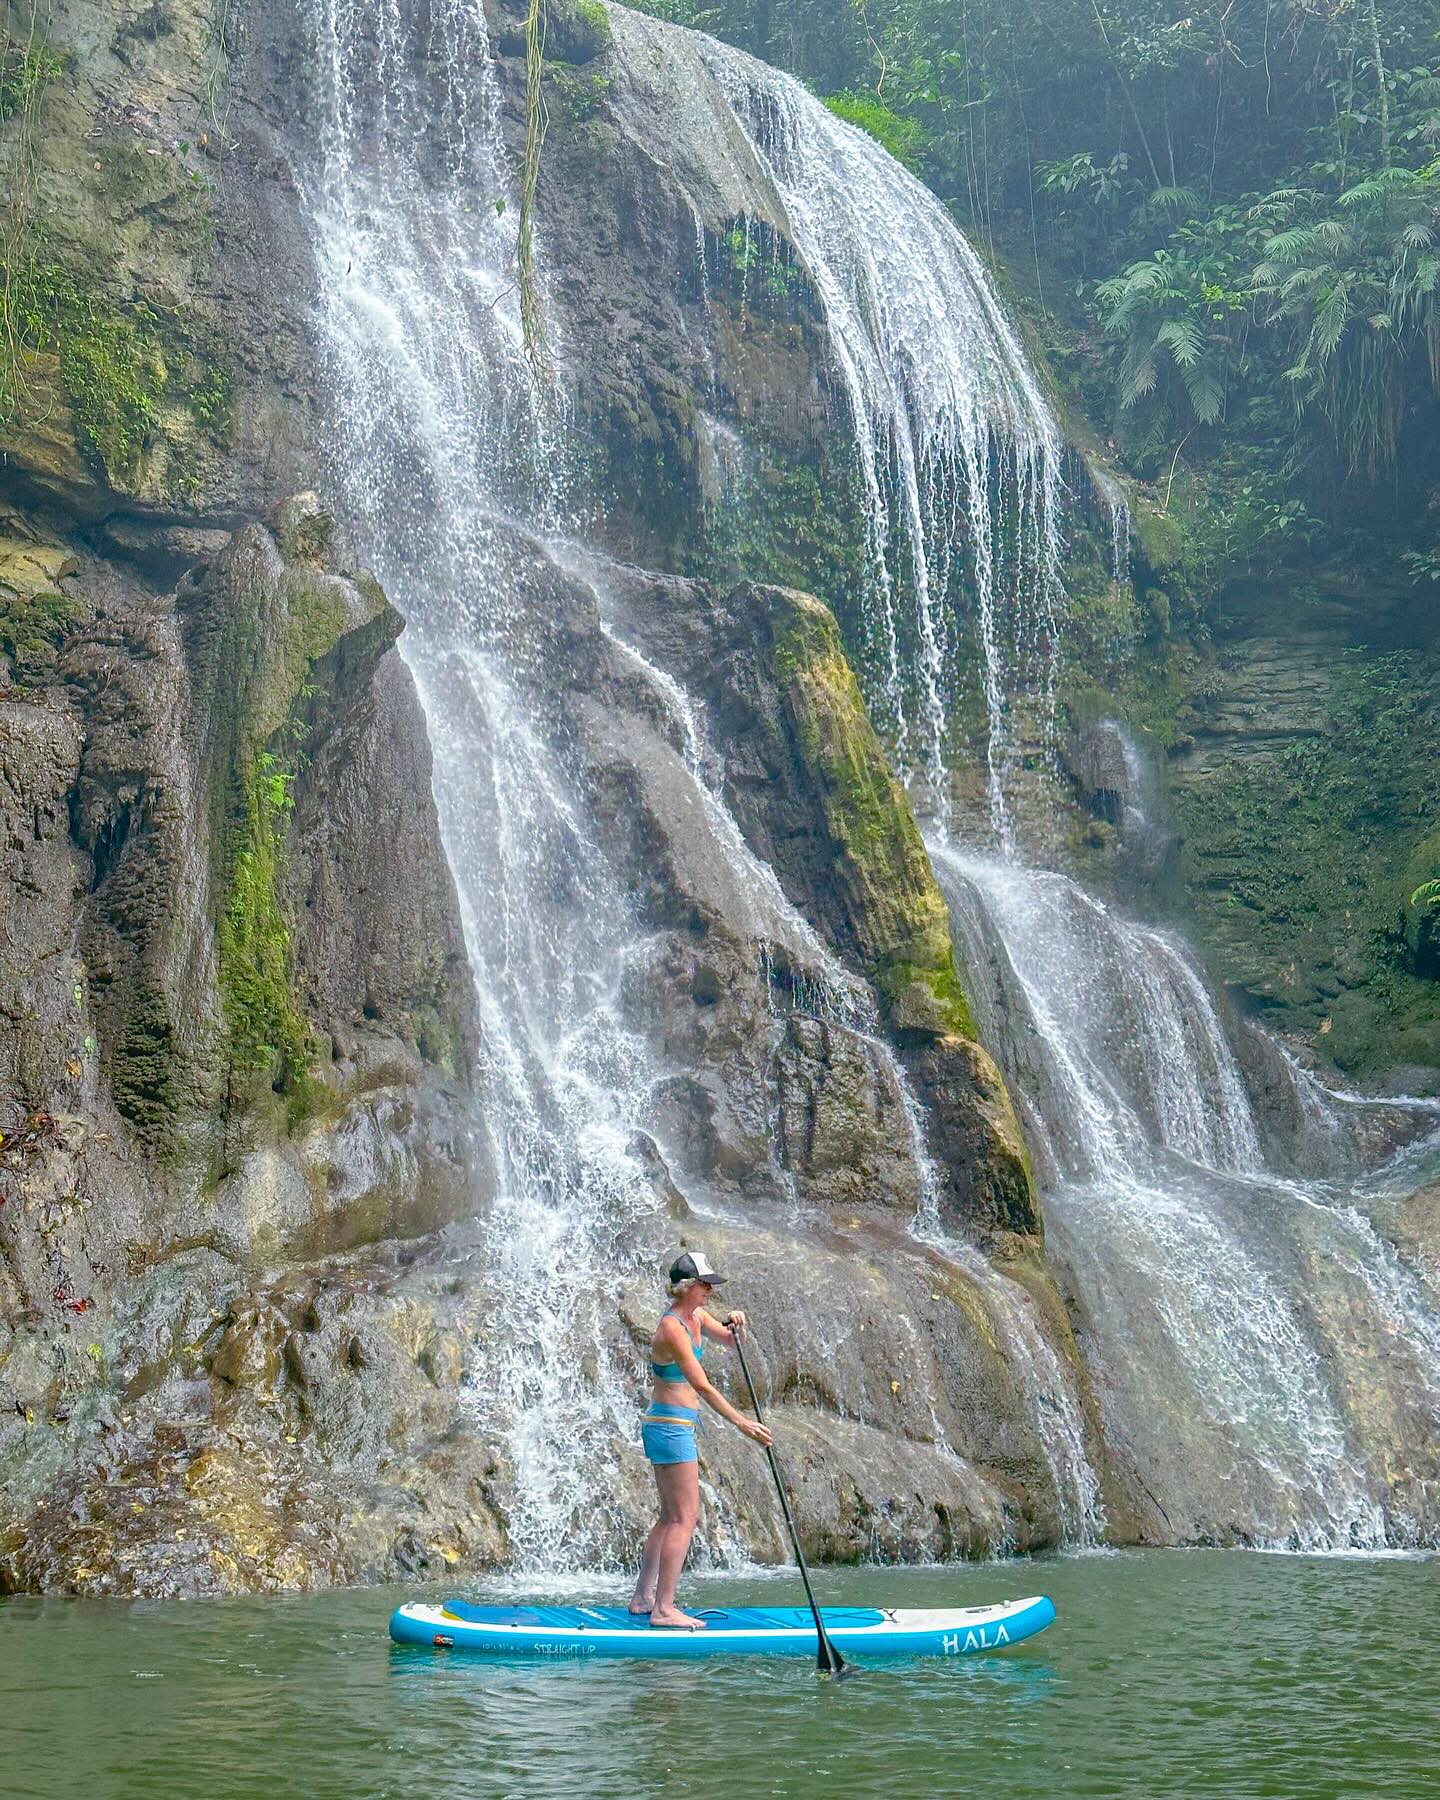
NEVER use a leash attached to your ankle on moving water, including rivers and creeks. An ankle leash can hinder your ability to swim effectively and can be difficult-to-impossible to release, which can be dangerous and even fatal. Decide if a leash is a good fit for your paddling style and safety plan (and practice using your leash) before heading out.
When used properly, leashes and the quick-release components, including the shackle, will release a paddler from their SUP. However, when pulled the wrong direction or otherwise used incorrectly, the shackle may not release. Use Hala Gear's how-to videos to ensure you know how to use your shackle and quick-release correctly.
We encourage paddlers to practice using their quick-release leashes before each outing. Likewise, it is important to always inspect your gear for wear and tear, damage, or deterioration. Frequent inspection ensures your gear is in good condition and reduces the risk of accidents or malfunctions.
To ensure our customers and paddlers have the most up-to-date, reliable gear, we are offering replacement welded shackles. To qualify for a replacement, please fill out this form and share a photo of your outdated or otherwise deteriorated shackle.

Replacement welded shackle for the Hala releasable leash system. Use this to replace a bent, damaged, or missing shackle on your quick-release leash. Compatible with all Hala releasable leash systems.
If your shackle ring is bent or misshapen, please fill out this form to request a courtesy replacement.
Before You Use Your Releasable Leash -- Safety Essentials
A releasable leash is safety equipment. Using it incorrectly on moving water can be life-threatening. Review these critical points before every paddle:
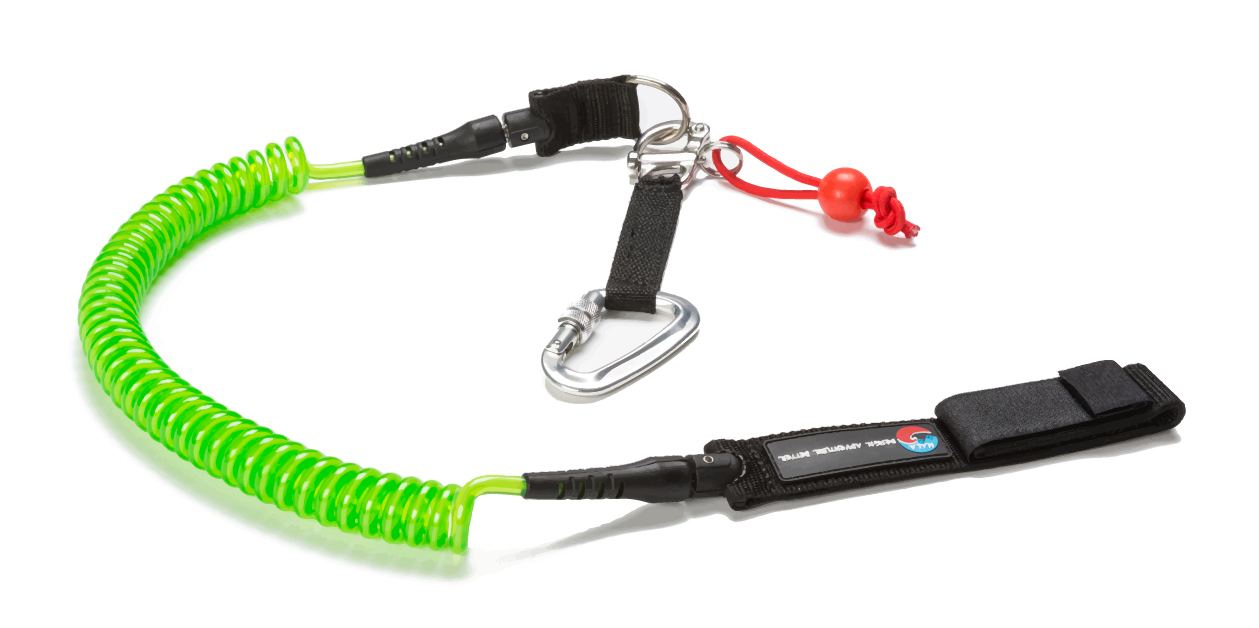
Pull Direction: Straight Down Only
Pull the release pin STRAIGHT DOWN to release -- never toward you. Pulling toward you applies force to the wrong part of the mechanism: the pin will not release and you can damage the shackle. Practice your release on dry land before you get on the water.
- YES: Pull straight down on the release pin (the red ball)
- NO: Do not pull the ball toward you

Rope Loop and Ball Must Be Free and Clear
Before every session, check that the rope loop and ball are hanging freely outside the shackle body. If the rope loop or ball passes through the shackle ring, the leash will not release when you pull it. This check takes two seconds and could save your life.
- CORRECT: Rope loop and ball hanging free and clear of the shackle
- INCORRECT: Rope loop or ball threaded through the shackle ring

Leash Attachment
Attach the carabiner to an anchored loop on the FRONT of your PFD. The release mechanism must remain reachable 100% of the time. Never attach to a position where the carabiner can slide to your back and become out of reach. Do not attach to your leg on moving water -- only quick-release waist leashes are safe on rivers.
Always Inspect Before Use
Check the shackle, carabiner, rope, and release mechanism before every session. Replace any bent, cracked, or worn components immediately.
Read the full SUP Safety guide -- covers leash selection, pull direction, rope loop checks, river swimming positions, and more.
What to wear + bring
Gear to Bring: Personal Protective Equipment and More
Before you head out to your destination, there are some items you need to bring along with you. Make sure you have the right safety gear to ensure the best trip. Below is a sampling of items you will want to bring along. Depending on the location and length of your trip, you will want to bring this gear and more to ensure you are comfortable and safe for the duration of your adventure.
Required Paddle Gear [state-based requirements]
- A lifejacket or Personal Floatation Device (PFD)
For most paddles you will want
- A helmet
- First aid kit
- Throwbag
- Plenty of water to drink
- Sunscreen
- Protective Clothing, Footwear Headwear and Eyewear
- Drybag to keep your gear dry and attached to your craft
Depending on the length and location you may want to bring
- Headlamp or flashlight
- Change of clothes + Towels
- Rescue knives
- Flares
- Back up paddles and oars
- Navigation information (guidebook, etc.)
What to Wear?
Whether you’re new to the adventure of rafting or have been out on the water several times, knowing what to wear whitewater rafting is an important part of making your adventure fun and safe. Make sure that your clothing is quickdyring, water-resistant or waterproof, so you don’t have to worry about being in wet clothes all day.
There are a variety of options to choose from, from swimming suits + SPF wear to drysuits and neoprene, allowing you condition and temperature flexibility and comfort. Wearing water shoes will help keep your feet comfortable throughout the trip and provide you the grip and functionality you will require to protect your feet.
As you’re planning what to wear on your whitewater adveture, one of the most important things to keep in mind is that you should stay away from cotton-based clothing. Cotton absorbs water quickly, which will leave you cold, wet, and uncomfortable. On top of that, wet cotton clothing gets heavy quickly.
Before you go: Weather + Water
Always know the weather forecast and water conditions
before heading out on your SUP adventure. You will want to check the
weather report and stay posted on changes; it doesn’t hurt to check the
weather radar as well.
You will also want to check the water flow
levels and understand how they compare to the normal/high/low flows for
that stretch of river. Depending on the length and location of your
paddle, you may want to look on YouTube and research the features (like
named rapids) you plan to encounter at various river levels.
Weather + Water Resources
- USGS Water Data:
You can search for your river stretch and check flows along that
stretch measured by multiple variables. You can easily view the
Discharge (measured by CFS: cubic feet / second) and Water Temperature
(measured by degrees Farenheight) and Gage Height (measured in feet).
You can look at most recent values in addition to looking at historic
river data. - American Whitewater River Info: This tool allows you to find your stretch of water and look at details on historical flow information and more.
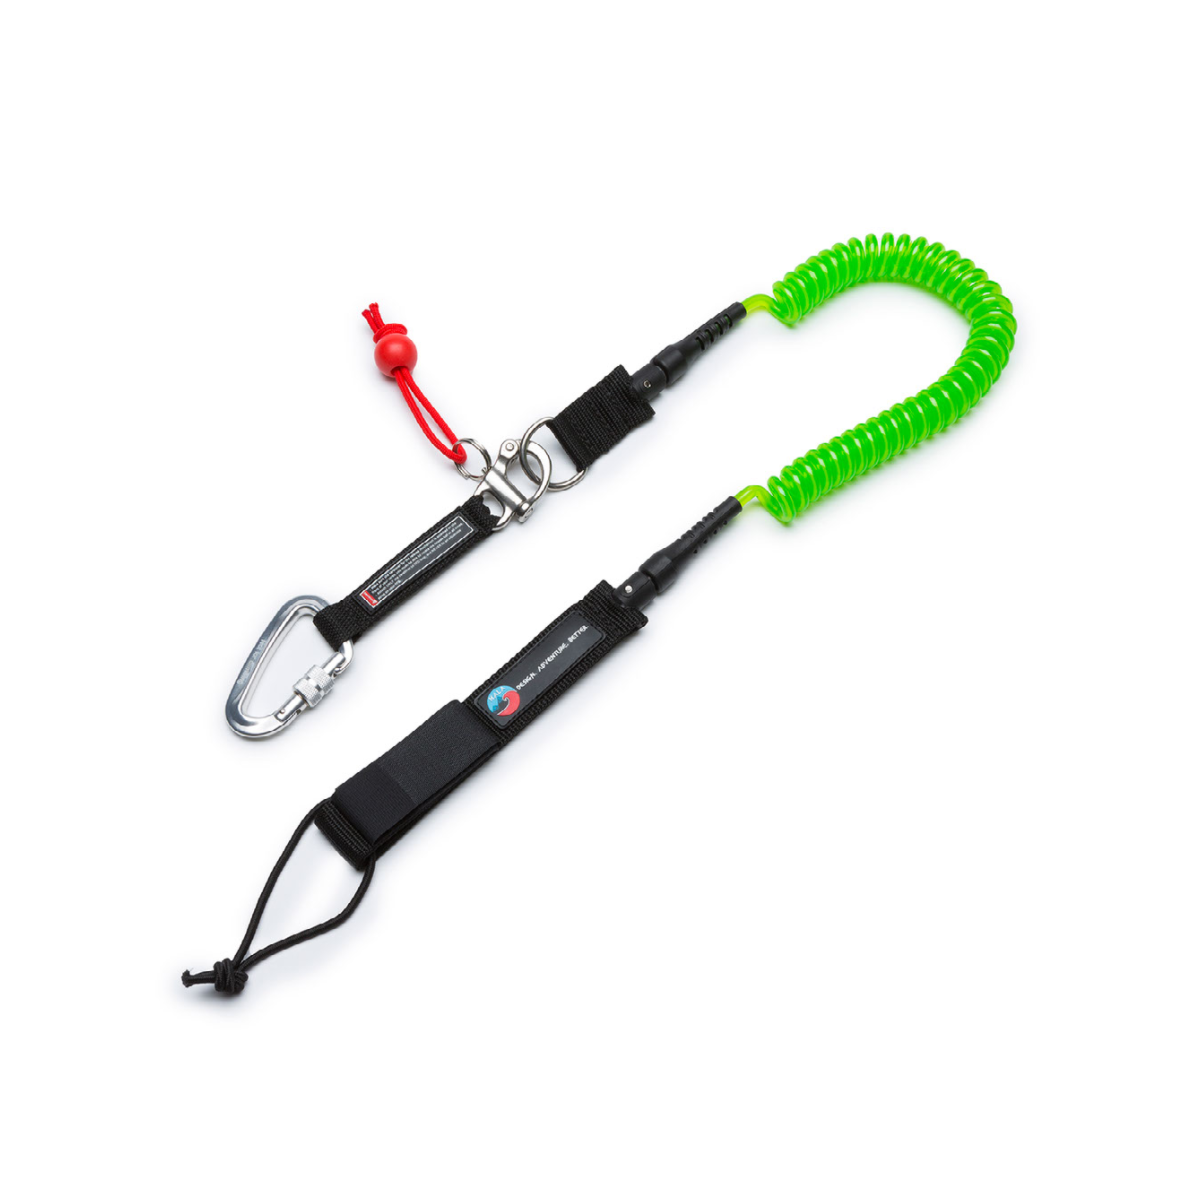
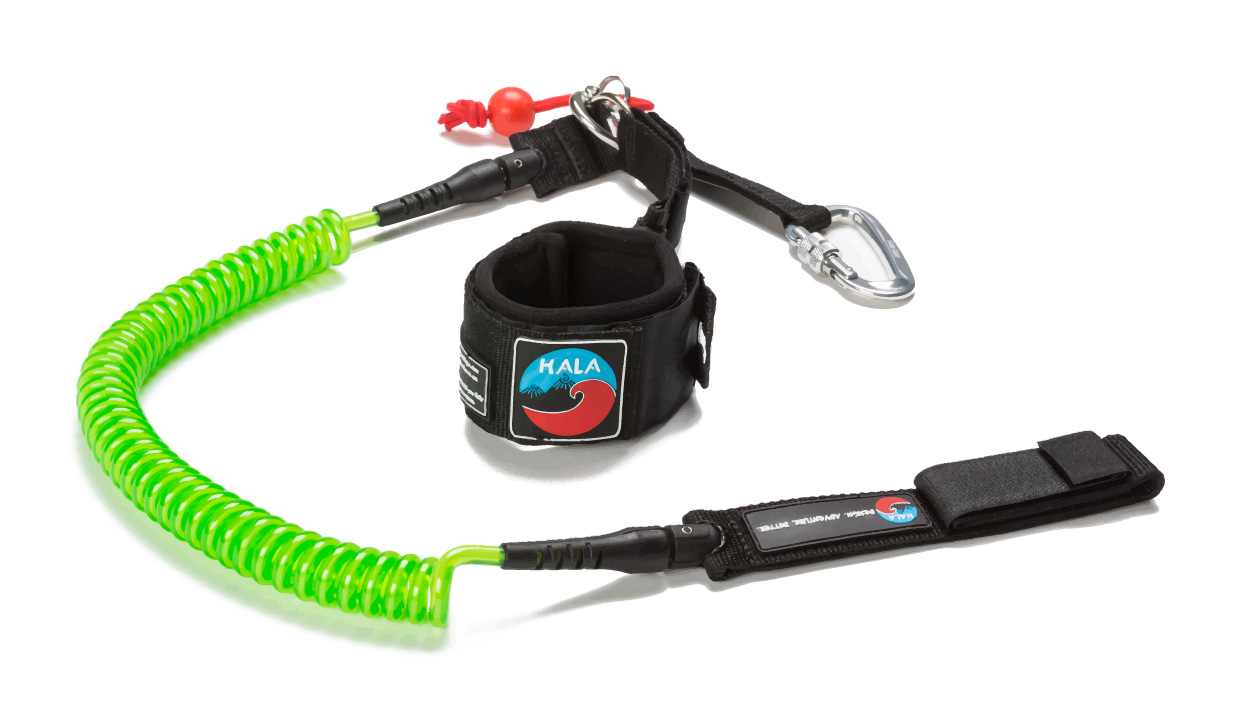
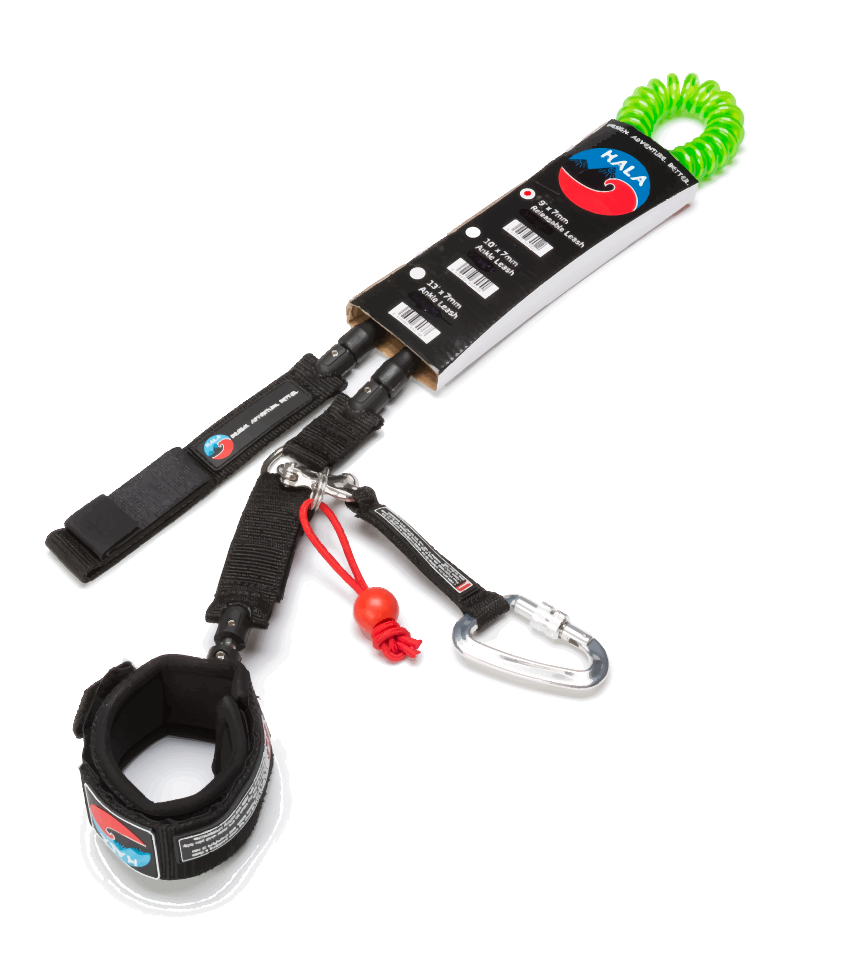
Convertible Quick Release (with ankle conversion option)
Available in 7' and 9', Hala Gear's Convertible Leash does it all! Paddle moving water AND flat water with the same leash. This unique design has two different attachment options.
Option 1: Releasable leash - if you choose a leash for river paddling, you must have at least one easily-reachable (torso-area) mechanism to release it. The sailing shackle and locking carabiner attach to your PFD. The shackle ball system quickly and safely releases you from your board.
Option 2: Ankle Leash - Plan to paddle flat water as well? Convert the system to an ankle leash by attaching the ankle cuff to the same sailing shackle, and the leash is ready for flat water and surf environments.
Features:
- Two Attachment Options
- Coiled body (reduces drag and keeps the leash out of the way)
- Sailing Shackle
- PFD Quick-release
Shorter 7' leash:
- Better for river-specific
- River Surfing
- Keeps the board closer in moving water
Longer 9' leash:
- Better for expedition paddling
- Flat water excursions
- Crossover paddlers
 SUP Safety Tip: **A leash is an important tool for paddleboarding. However, proper knowledge and correct use are essential to staying safe.
NEVER use an ankle leash on moving water, including rivers and creeks. An ankle leash can hinder your ability to swim effectively and can be difficult to impossible to release, which can be dangerous and even fatal. Decide if a leash is a good fit for your paddling style and safety plan before heading out.
The Anatomy of a river
Terms + Concepts to Know
Rocks Make Whitewater: Is the rock friendly or not friendly?
Friendly rocks are fun: They create pillows, water flows smoothly over them, paddlers can bump into and off them or paddle over the top of them safely.
Unfriendly Rocks: Create dangerous situations. Be aware of the following
- Undercut Rocks: Create a siv that can entrap or pin boats or humans.
- Thin or sharp rocks: Paddlers or boats can get stuck on these rocks. They don’t create pillows, water rushes quickly by them.
RIVER FEATURES
Holes: Where the water rushes over a rock and creates a trough that the downstream water fills and that can create a foam pile.
Foampile: Upstream rushing water in a hole. The white and lighter color part.
Boil Line: The point where the water starts going downstream again and above which the water rushes upstream.
Corners: Where the foam pile disappears on the outside of the hole.
Hole Shapes
What the Foam Pile looks like in the river and how it takes up space.
Straight Hole: Foam pile runs straight across the river
Smiley Hole: The corners of foam pile are further downstream than middle.
Pocket or Frowney Hole: The corners of Foampile are further upstream than middle.
Diagonal Hole: Yup, the foam pile runs diagonally across the water.
Waves
What you play on when in whitewater, you bounce up and down, you can surf them. Waves can be so much fun on the river.
Peak: Top of wave
Trough: Bottom of wave
Shoulder: To right and left of the wave where wave begins to disappear into the current of the river.
Eddies
Slow water and slack water in a river created by an obstacle in the river or shoreline.
Top of an eddy: Very most upstream side, usually up against a rock or shoreline.
Bottom of eddy: Most downstream part where the eddy turns back into the current
Eddy Pocket: The most stationary or upstream-moving part of the eddy.
Eddy Lines: Separate the current going downriver from the upstream running slack water.
Crisp or Clear Eddy Lines: Sharp line between current and eddy
Boily, Wide or Mushy Eddy Lines: Not as distinct line, current fades into eddy
Picking your Paddle Line
When paddling whitewater, you will generally be moving from one eddy to the next eddy. From eddy to eddy, you will assess for your paddleable line taking the following items into consideration.
- Know what paddling techniques you’re good at to pick your line either
paddling the easiest way through or using your skills to move through
the line. - The fastest current usually is denoted by waves or a V.
- The V shows the fastest current and oftentimes goes between the rocks. Water in a V is deep and moving so it’s a good choice for line selection.
- Look for obstacles such as holes and rocks, etc. along your chosen line to determine how you want to handle them.
- Number 1 Priority
is to leave as much margin for error in your line as possible so if something goes not according to plan you have time to read what’s coming and calibrate your line.
Consider the Following Obstacles
Tunnel Vision: When a paddler looks right at the front of their boat rather than to the next eddy or obstacles along
their line. Always focus on the target or where you want to go rather than right in front of your boat.
Fun with rocks: You can paddle around them, Catch the eddy behind them and if there’s enough water, paddle over them. Rocks sticking up above the waterline in
the middle of the river is a pretty good indication that there’s an eddy on the backside of it.
Be aware of Current Differential: There can be a strong or smooth difference in speed between the current flow and the strength of the eddy and it’s important to know what those differences will mean for you.
River Rapid Class-ification: Choose your adventure
Knowing the skill level and experience of those adventuring with you allows you to choose the right river stretches [with paddleable features] for your group. There are six different whitewater rapid class levels to choose from, with different characteristics in each class.
River SUP safety
If you’re going with a group make sure to take the time to assess everyone’s skill levels. This allows you to make sure everyone in your crew can tackle the water you’ve chosen to paddle and gives you an idea of who may need an extra hand once you’re out there. It’s also helpful to know who is most likely to keep their cool if something comes up.
Ensure everyone on the crew knows safely swimming positions and other techniques that could become crucial in a tight situation.
More IMPORTANT river SUP concepts
"Rigged to flip"
Ensure you and your follow adventurers are able to securely attached all the gear they brough to their craft, just in case your boat tips or flips.
Use Leave No Trace Principles
Leave a place better than you left it. Do not leave trash. Consider
microtrash and loose trash on your craft. Be sure your trash is secured during your adventure so you don’t accidentally lose it.
Know your crew (and what they know)
Aggressive Swim Position
- Most important: Keep your feet up
- Stomach down and head above water
- Swim aggressively with your arms toward the shore or boat
Be sure to avoid obstacles in the water
Downriver Swimmer Position
- Float on your back with your feet downriver, knees slightly bent
- Keep your head up and above the water.
- Don’t stand up in the river. Stay calm, and time your breaths with the waves if necessary.
- Listen for your team and Look for obstacles
- In this position, you can see where you’re going, and with your knees
bent, you can absorb some of the shock if you hit a rock and work to
avoid getting tangled with debris.
Also, make sure you all are ready to treat the chosen waterway with respect.